Little bee and ladybird
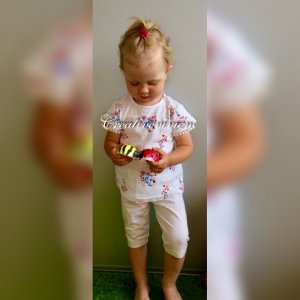
In our creative activities, animals are a must. We love them. Thus we have to create some as well!
We decided to add the instructions for making a little bee and a ladybird to our summer special, because we have been in touch with them since spring, and as it has warmed up and we spend even more time outdoors, we can see them all the time.
Let’s make these lovely animals with us.
If interested in our other summer activities, check out here:
Sock octopus/Ponožková chobotnica
Material:
polystyrene ball
black, yellow, red, white acrylic paint
knife
paint brush
pallete
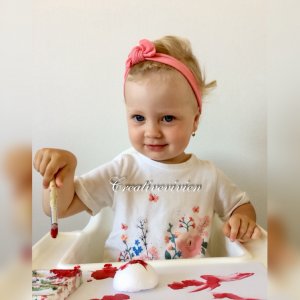
Directions:
1. The preparation and the procedure of the polystyrene bee and ladybird is simple.
2. First, we need to cut the polystyrene ball into two halves. We will need both halves, so we cut the ball carefully so that neither half gets damaged.
3. So let’s create the bee first. We will need yellow, black and white paint.
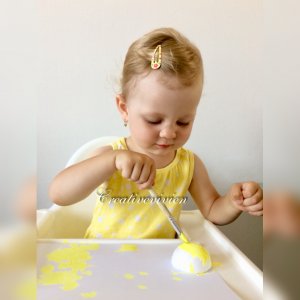
4. Paint the whole half ball yellow and let it dry. Once dry, draw black lines along the entire bee. Then paint the part (about 2 cm ) where the eyes will be with black color. When it has dried, make two white dots, like eyes, into this part. Wait a minute until the color gets dry then make white dots inside the black ones. Let it all dry and we have a beautiful honey bee.

5. The process of making the ladybird is very similar. Paint the half ball red and then draw a black line across the middle of its body and paint the head and dots on the body. Once dry, finish the eyes – the same way as with the bee.

We wish you a wonderful day!

Včielka a lienka
Na našich tvorivých aktivitách nesmú chýbať zvieratká. Milujeme ich. Tak si musíme aj nejaké vyrobiť!
Do nášho letného špeciálu sme sa rozhodli pridať výrobu včielky a lienky, lebo sa s nimi stretávame už od jari a ako sa oteplilo a nás čas trávime ešte viac vonku, tak sme s nimi ešte viac v kontakte.
Poďte si spoločne s nami vyrobiť tieto milé zvieratká.
Ak by Vás zaujímali aj naše iné letné aktivity, tak si ich pozrite tu:
Sock octopus/Ponožková chobotnica
Materiál:
polystyrénová guľa, alebo pologuľa
čierna, žltá, červená, biela akrylová farba
nožík
štetec
paleta
Postup:
1. Príprava a postup polystyrénovej včielky a lienky je jednoduchá.
2. Najskôr si musíme polystyrénovú guličku rozrezať na dve polovičky. Obe polovičky budeme potrebovať, takže guličku prerežeme opatrne, aby sa nám ani jedna polka nepoškodila.
3. Poďme si teda najskôr vytvoriť včielku. Na jej prípravu budeme potrebovať žltú, čiernu a bielu farbu.
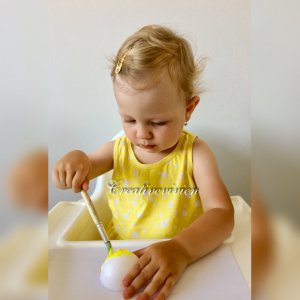
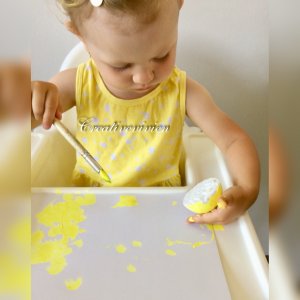
4. Celú pologuľu si vymaľujeme žltou farbou. Necháme dostatočne zaschnúť. Po zaschnutí spravíme čierne čiary pozdĺž celej včielky. Časť kde bude mať očká si vymaľujeme asi 2 cm od okraja čiernou farbou. Po zaschnutí spravíme do tejto časti dve biele bodky, ako oči. Chvíľku počkáme kým farba zaschne a spravíme do bielych bodiek ešte čierne bodky. Necháme dostatočne vysušiť a máme krásnu včeličku.
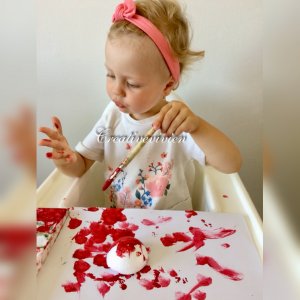
5. Postup pri výrobe lienky je veľmi podobný. Pologuľu si vymaľujeme červenou farbou. Po zaschnutí červenej farby si čiernou farbou namaľujeme čiaru cez polku tela lienky, namaľujeme hlavičku a bodky na telo. Po zaschnutí farby domaľujeme oči rovnakým postupom ako pri vytvorení včielky.


Spätné upozornenie:Paper octopus/Papierová chobotnica - creativevivien
Spätné upozornenie:Summer creative activities 18+ months/Letné tvorivé aktivity - creativevivien