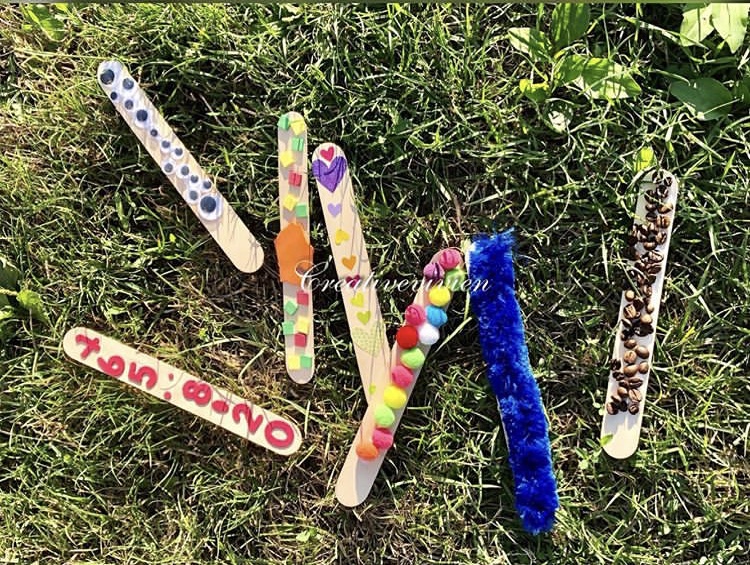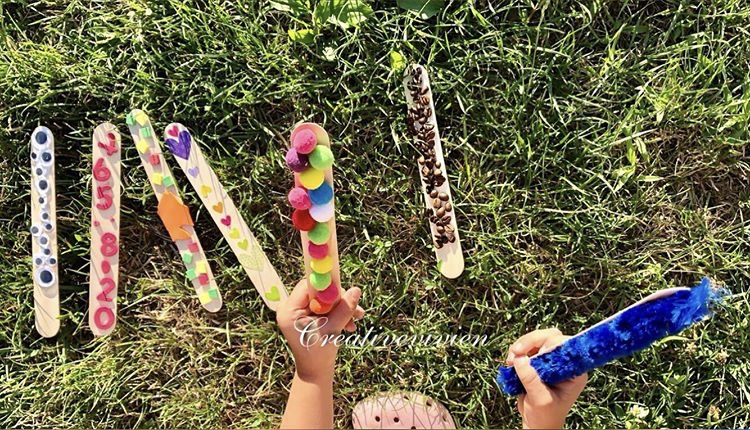
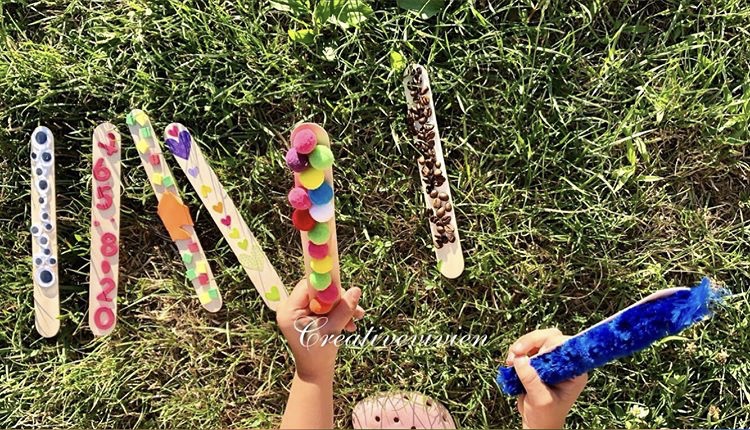
Let’s make some tactile sticks suitable for both small and big kids as well. Discovering and exploring begins very early with children! These sticks develop sensorimotor skills as they connect motor skills, perception, imagination and cognitive skills, therefore, they are ideal for this. The preparation is simple and the big ones will definitely be happy to help you out. However, let’s not forget about safety and always make sure that you have glued everything together and always keep the child under control. Ideally play with them.
You’ll need:
wooden doctor sticks
dispersion glue or glue gun
Sticks (what you can find at home, e.g.) :
pom pom balls
coffee beans
pasta
hairy wires
straws
moving eyes
colored elevated stickers
foam adhesive numbers
Directions:
The procedure is simple. Take one stick and glue one material of your choice on it. For example, whole coffee beans. Let it dry thoroughly. Then take another stick and glue different material on it. This way we will create a number of sticks with different glued materials on them.
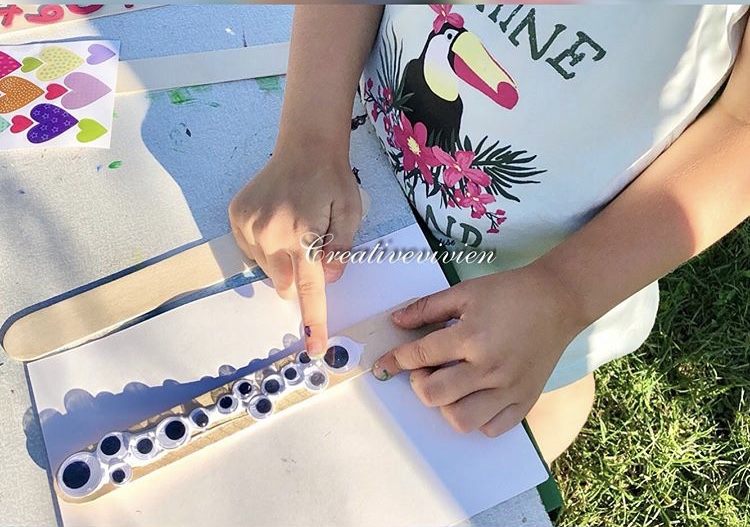
Smaller children can put stickers of different shapes on sticks, with you doing the more difficult stuff.
For older children, consider their abilities, but they will definitely be able to use glue to stick moving eyes or coffee beans. On the other hand, glue guns can only be used by adults to avoid injuries.
For older children, create more complex sticks and if possible let them work in pairs. This engages children’s analytical thinking.
Make sure that you have glued everything together and always look after the child with the sticks.
Safety is paramount!
We wish you great fun
Yours, Lenka and Vivien
************************************************************************
DIY senzomotorické drevené paličky
Vytvorte si spolu s nami hmatové paličky, s ktorými sa zabavia malí aj veľkí. Objavovanie a skúmanie začína u detí veľmi skoro! Tieto paličky rozvíjajú senzomotoriku pretože sa navzájom prepája motorika, vnímanie, predstavy a myslenie a preto sú na tento účel ideálne. Príprava je jednoduchá a velkáči Vám s ňou určite radi pomôžu. Nezabúdajme však na bezpečnosť a vždy sa uistite, že ste všetko dôkladne nalepili a dieťa majte vždy pod kontrolou. Ideálne sa hrajte s ním.
Budete potrebovať:
Paličky
disperzné lepidlo, alebo lepiaca pištoľ
na paličky:
čo doma nájdete:
pom pom guličky
zrnká kávy
cestoviny
chlpaté drôtiky
slamky
pohyblivé oči
farebné nálepky vyvýšené
lepiace čísla z penovej hmoty
Postup:
Postup je jednoduchý. Zoberiete jednu paličku a na ňu nalepíte jeden vami vybraný materiál. Napríklad celé zrná kávy. Necháme dôkladne uschnúť. Zoberieme druhú paličku a na ňu nalepíme zas iný materiál. Takto si vytvoríme rôzne množstvo paličiek s rôznymi nalepenými materiálmi.
Menšie deti zvládnu nalepovať rôzne tvary nálepiek na paličky, ťažšie a zložitejšie urobte vy.
Pri starších deťoch zvážte ich schopnosti, ale lepenie pomocou lepidla určite zvládnu aj samé. Napríklad nalepiť pohyblivé oči, alebo kávové zrná. Lepiacu pištoľ používajte len vy, aby nedošlo k zraneniu dieťaťa.
Pre staršie deti vytvorte zložitejšie paličky a v pároch. Zapojíte analytické myslenie detí.
Uistite sa, že ste všetko dôkladne nalepili a pri s paličkami vždy dohliadajte na dieťa.
Bezpečnosť je prvoradá!
Skvelú zábavu Vám prajeme 🙂
Vaša Lenka a Vivien
