V tomto článku Vám predstavíme zopár námetov na tvorivé maľovanie s deťmi. Techniky sú ľahké. Vždy volíme taký postup aby dieťa zaujal. Ku každej maľbe prinášame podrobnejší fotonávod. Nech sa páči, vyberte si.
- 1. Zatmenie Slnka
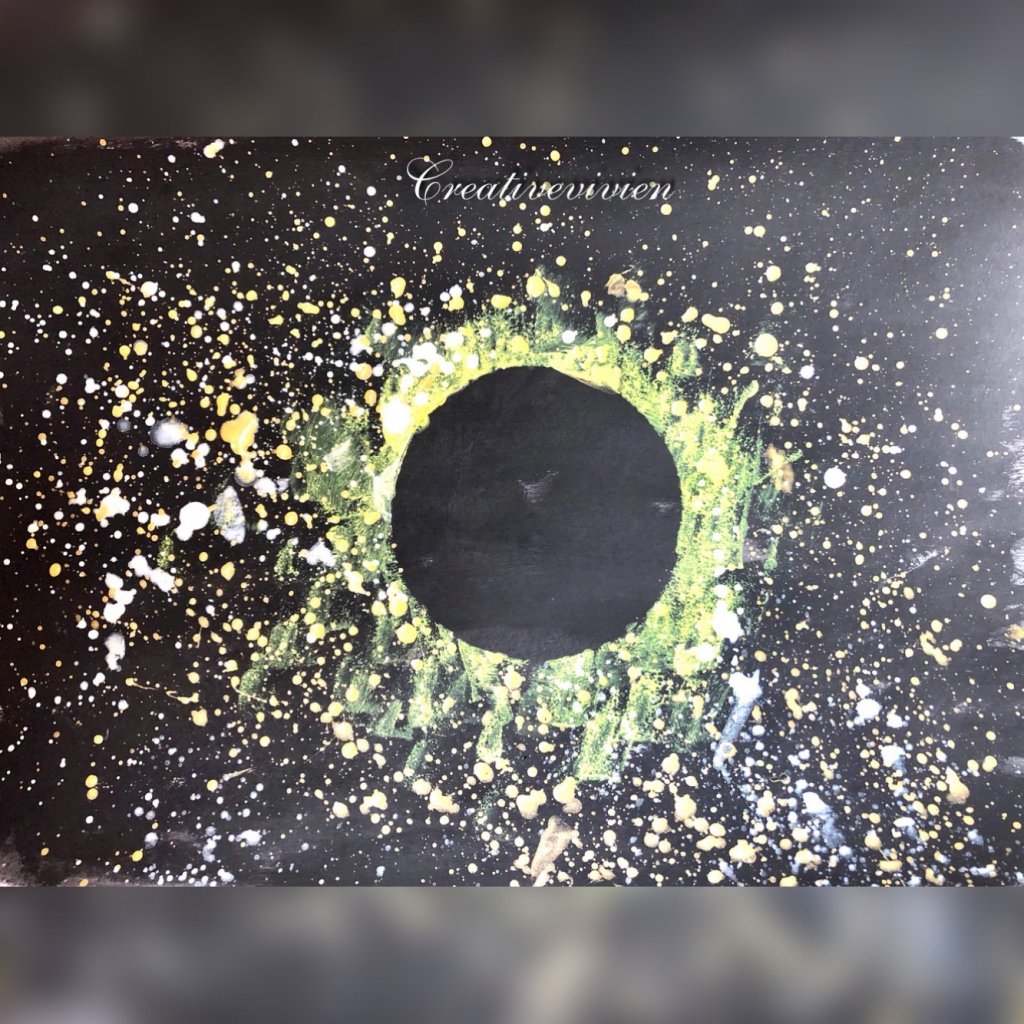
Tak s týmto obrazom spravíme radosť asi väčšine detičkám. Vivien som na celý obraz spravila pomocou čiernej farby smajlíka. To bola radosť, asi 5 krát sa ma spýtala, že či to celé čiernou môže vymaľovať. Samozrejme, že môžete použiť aj čierny papier, ale tak nebudeme deťom kaziť radosť.

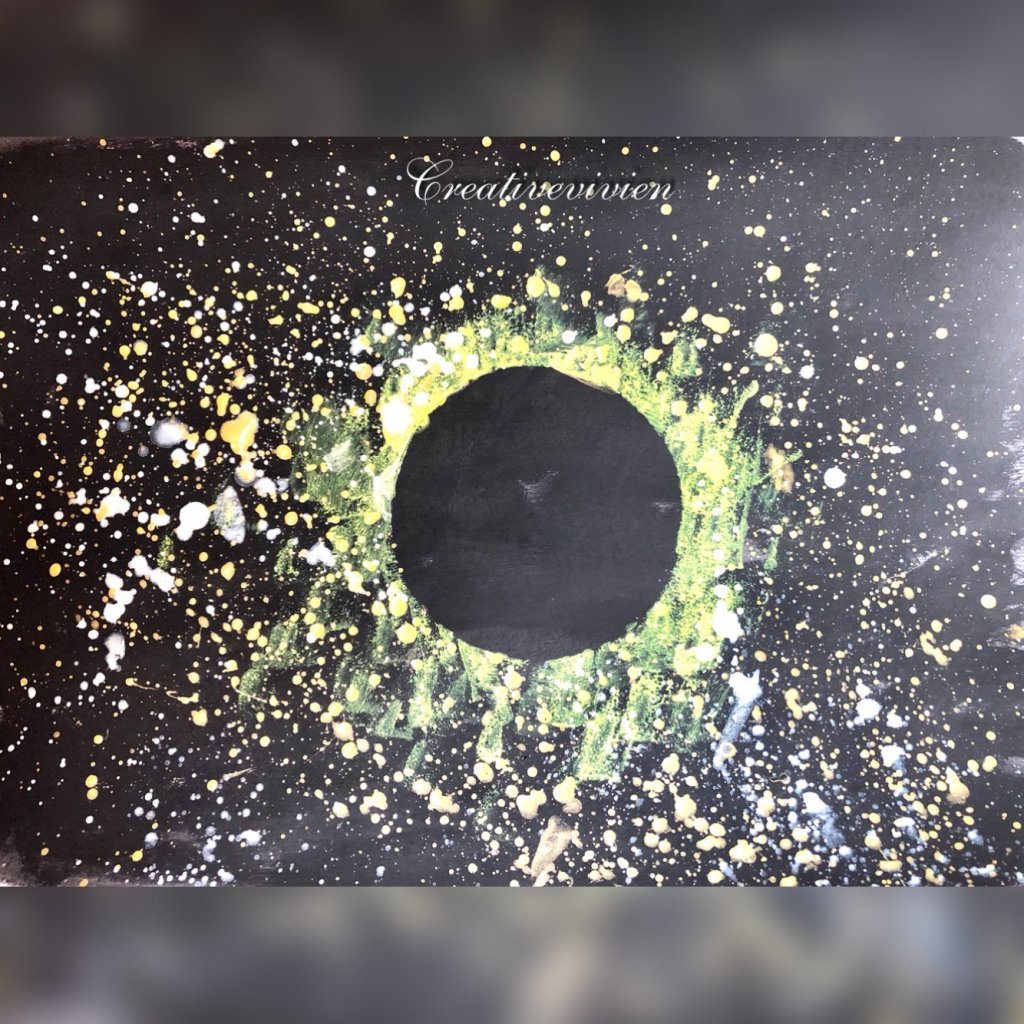
Po zaschnutí čiernej farby si Vivien nalepila do stredu kruh. Ten som vystrihla z obyčajného papiera a dala naň obojstrannú pásku.

Pomocou žltej farby mala obísť, vybodkovať tento kruh.
Potom za asistencie našich dvoch štetcov a bielej a zlatej farby klepaním rozniesla po tomto obraze jemné kvapky.

Nechali sme troška zaschnúť.
Na záver už len odstrániť biely kruh.
- 2. Mesačný svit na pobreží
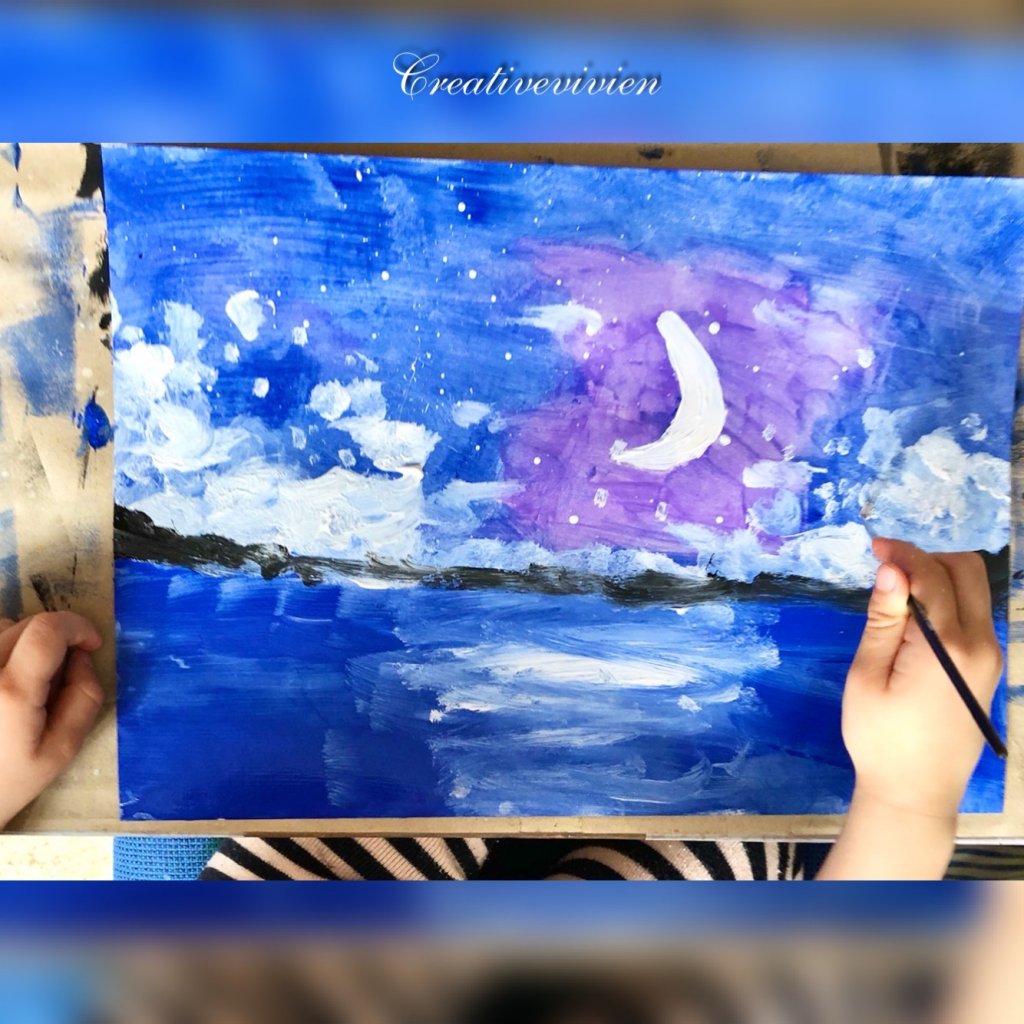
Táto maľba bola troška náročnejšia, ale o to viac sa Vivien páčila. V asi 2/3 som ceruzkou spravila čiaru. Cez tú čiaru dala papierovú lepiacu pásku. Taktiež som na vrchnú časť prilepila vystrihnutý mesiac. Túto vrchnú časť Vivien vymaľovala modrou a fialovou farbou. Po bokoch porobila biele bodky.

Na spodnú časť som pomocou farieb spravila smajlíka. Vivien ich má veľmi rada. Volá ich smejúce tváričky. Použila som na oči bielu a na nos a ústa modrú. Tieto farby potom rozotrela pozdĺž. Nechali sme ich troška zaschnúť a potom som do stredu ešte vytlačila bielu farbu a nechala Vivien nech to pekne rozotrie.

Odstránila som lepiacu pásku s 2/3 a Vivien tam spravila pomocou čiernej farby pásik.
Na záver sme ešte klepkaním dvoch štetcov o seba zakvapkali trocha náš obraz. Inak to klepkanie deti milujú.
A ešte aby som nezabudla, treba odstrániť lepku z mesiaca.
Vivien si ešte na záver musela dorobiť biele obláčiky, zdali sa jej tam málo.
- 3. Jarné kvietky
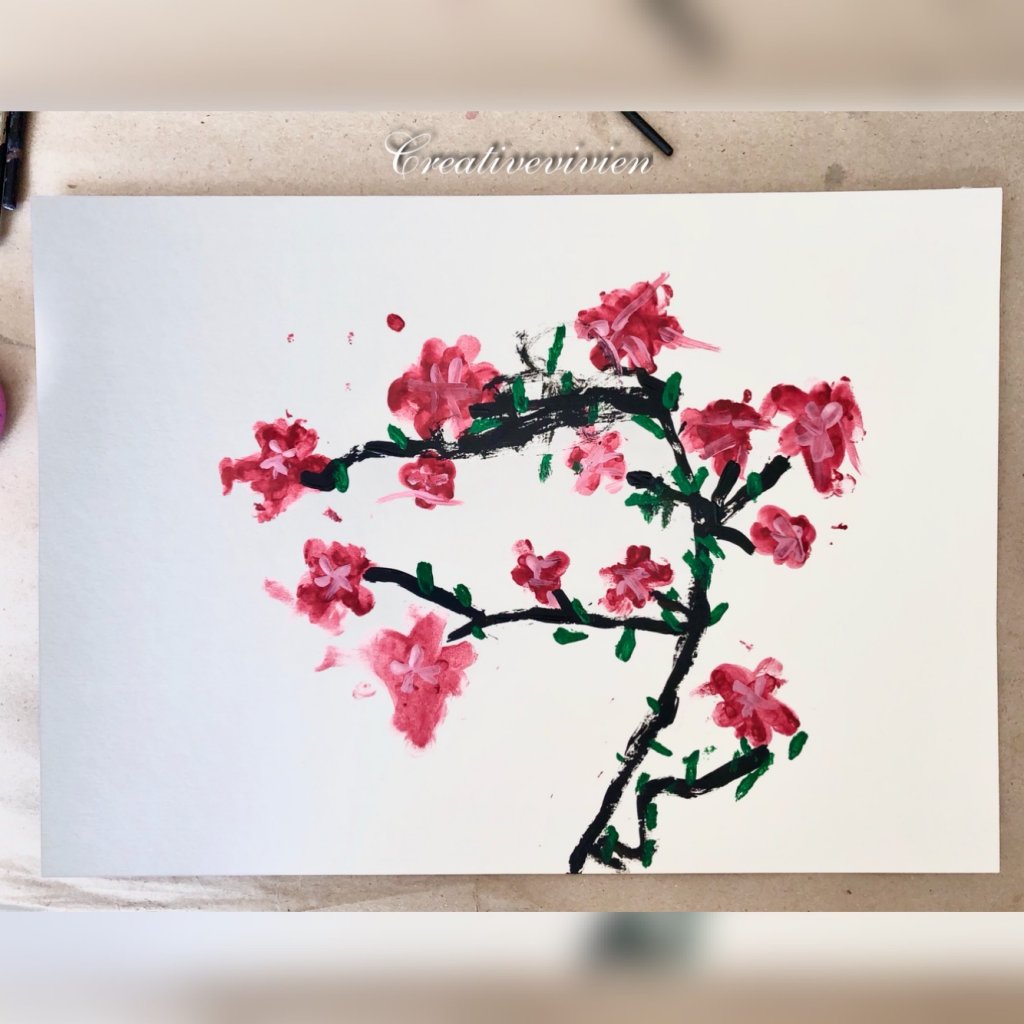
Na túto maľbu Vám postačia 3 tenšie štetce a 4 farby: biela, červená, zelená a asi každého dieťaťa obľúbená čierna.

Pomocou tenkého štetca si Vivien spravila 5-6 bodiek do kruhu, to budú kvety. Počet je ľubovoľný.

Prstom ich porozotierala smerom dnu. Musela som ju navigovať, aby to neťahala po celom papieri.
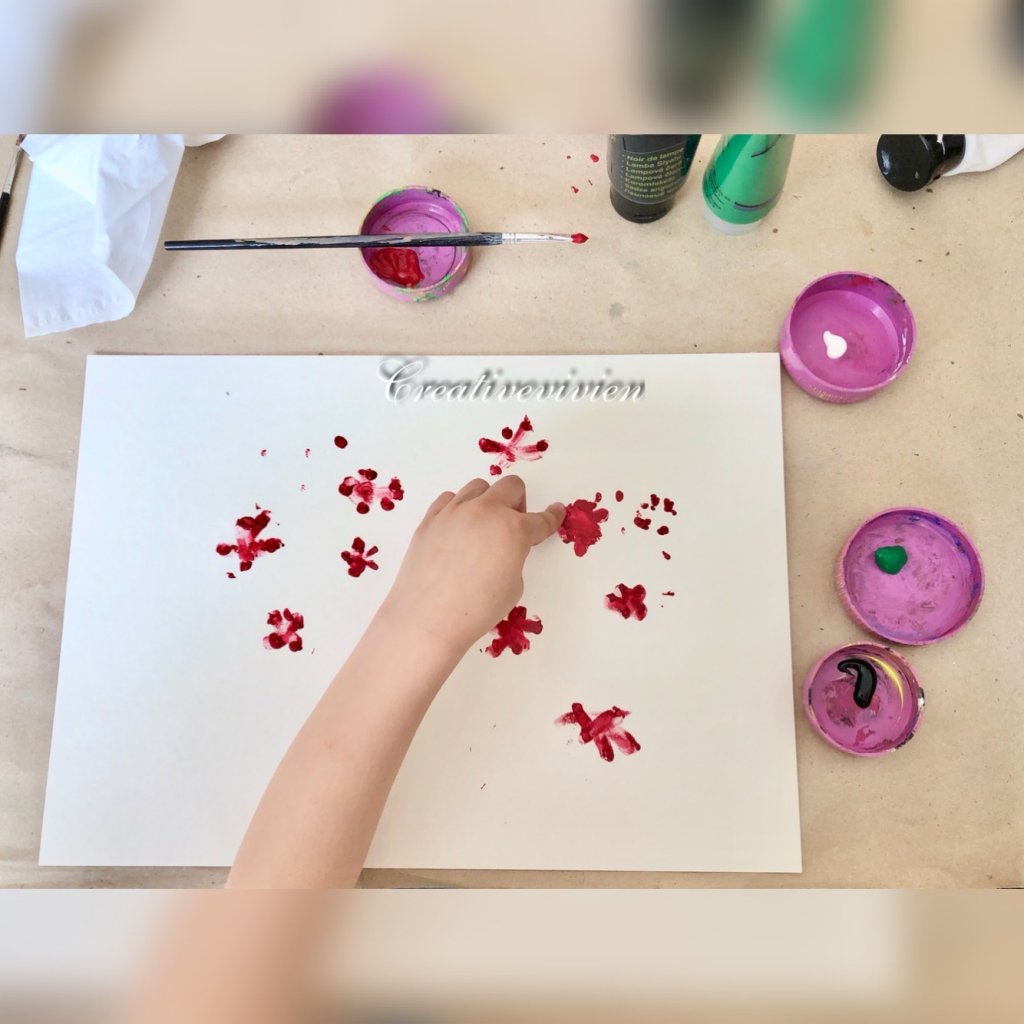

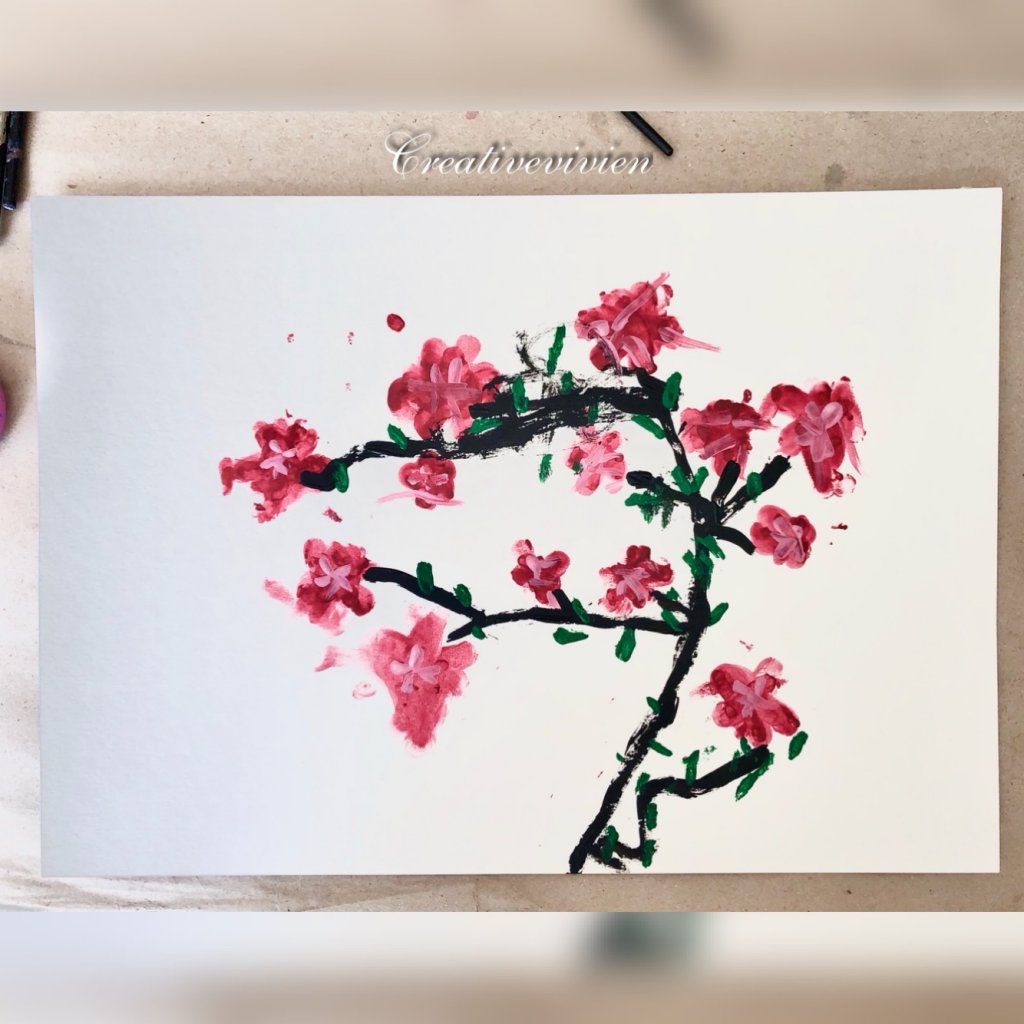
Potom si čiernou farbou pospájala tieto kvietky.

A na záver dorobila listy na konár.
- 4. Vnímanie jari
Najskôr necháme dieťa vybrať 4 rôzne farby. Buď vy pomôžete dieťaťu, alebo to necháte na neho samého, nech namaľuje rôzne tvary na plátno/výkres.
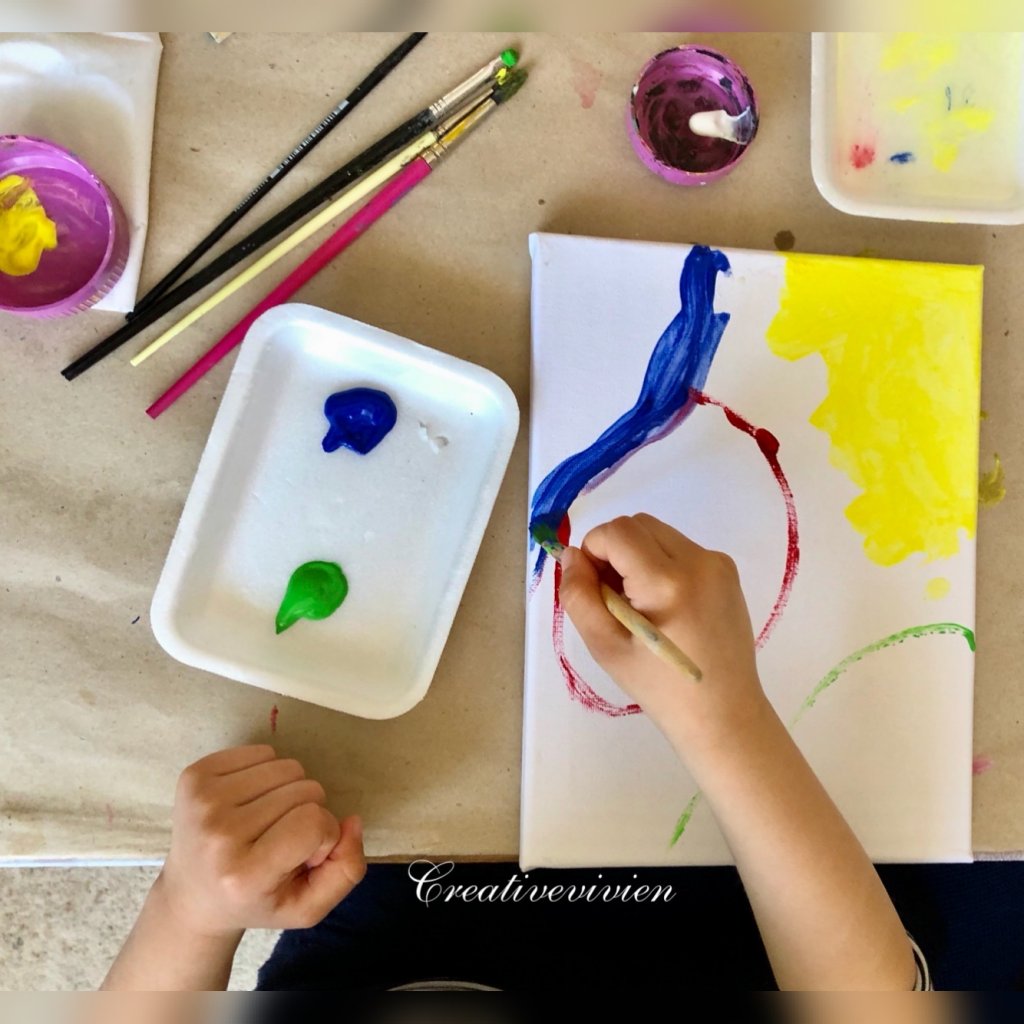

Potom sme pomocou ceruzky načrtli spoločne kvet s listami a pomocou akrylovej fixky si to Vivien obtiahla.

Na záver zvyšné biele plochy namaľovala ružovou a zlatou.
Voľba farieb je na dieťati.

- 5. Farby prírody
Ceruzkou si načrtneme asi do 2/3 čiaru pozdĺž šírky papiera. Na väčšiu časť nakreslíme kostru 2 stromov. Vivien vie už farby sama vytláčať, preto som nechala aby na konci každej vetvičky stromu urobila farebné bodky. Počet vetvičiek a farieb je ľubovoľný, my sme dali po 5 na každú stranu + 1 na vrchol. Na spodnú časť, kde nie sú stromčeky nanesieme bielu farbu. Kľudne to nechajte na dieťa, táto farba sa bude potom prekrývať.

Pri tejto maľbe dieťa zaujme už to, že si môže samé vytvoriť jednoducho stromy a odporúčam použiť viac a rôznotvarových štetcov. Nech je to pre dieťa zaujímavé.
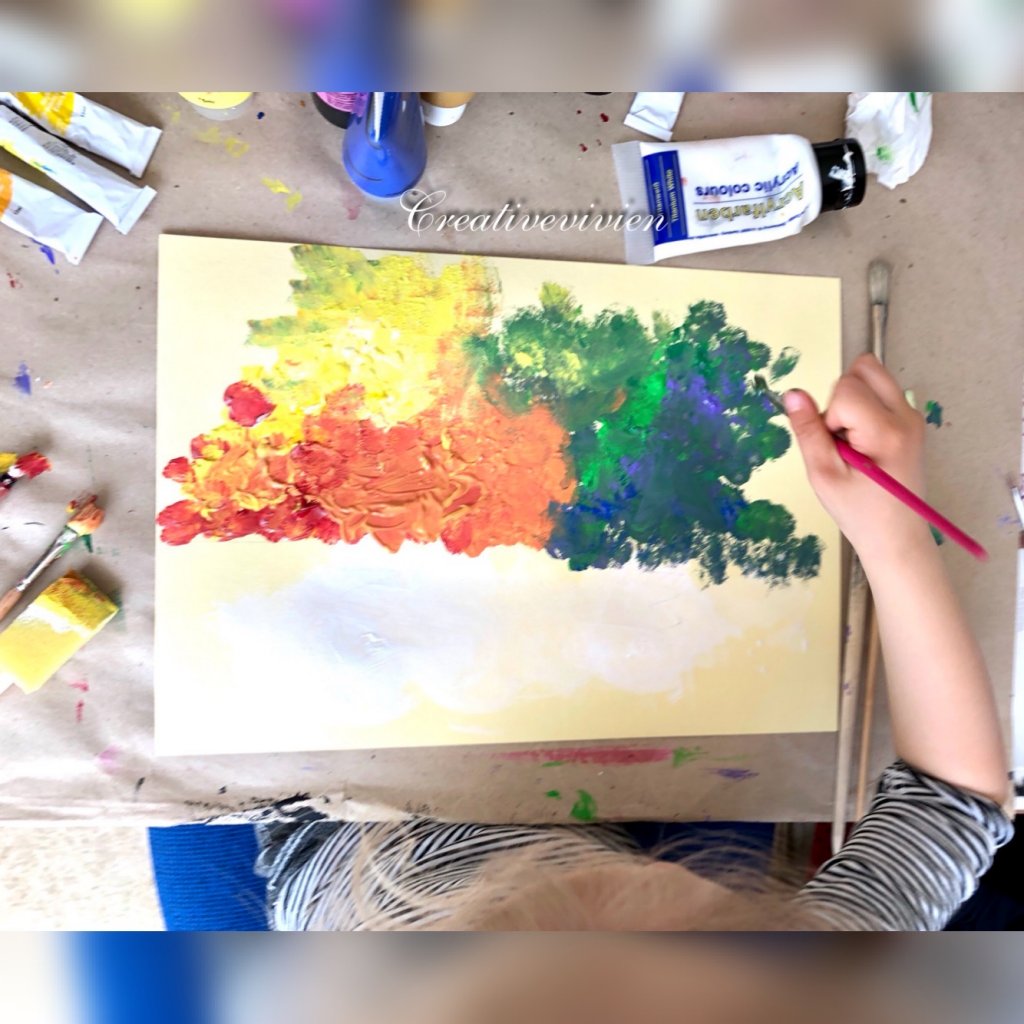
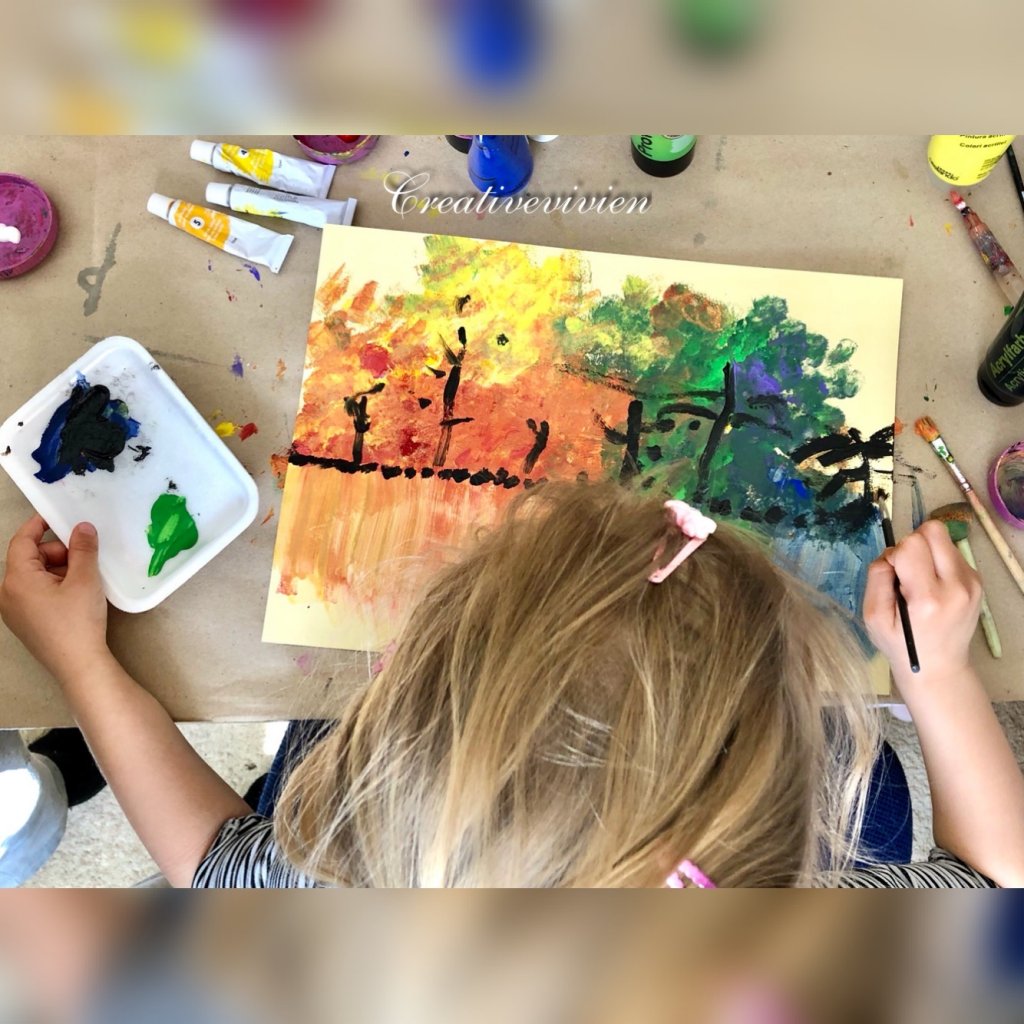
Vrch stromov sa vybodkuje a spodok pod čiarou, kde sa nachádza biela farba sa vymaľuje. Keď je vybodkovaná stromová časť, necháme ju zaschnúť. Pustíme sa do spodnej. Od nakreslenej čiary robíme ťahy štetcom smerom dolu, tým pádom rozotrieme troška zo stromov a získame ten istý odtieň na spodnú časť. Kým nám spodná časť uschne, tak na vrchnej časti necháme dieťa nakresliť stromy pomocou čiernej a potom bielej farby. Na stredovú čiaru spraví dieťa už iba čiernou farbou bodky.
Na spodnú časť obrazu sa spraví zopár jemnejších pozdĺžnych čiar pomocou čiernej a bielej.
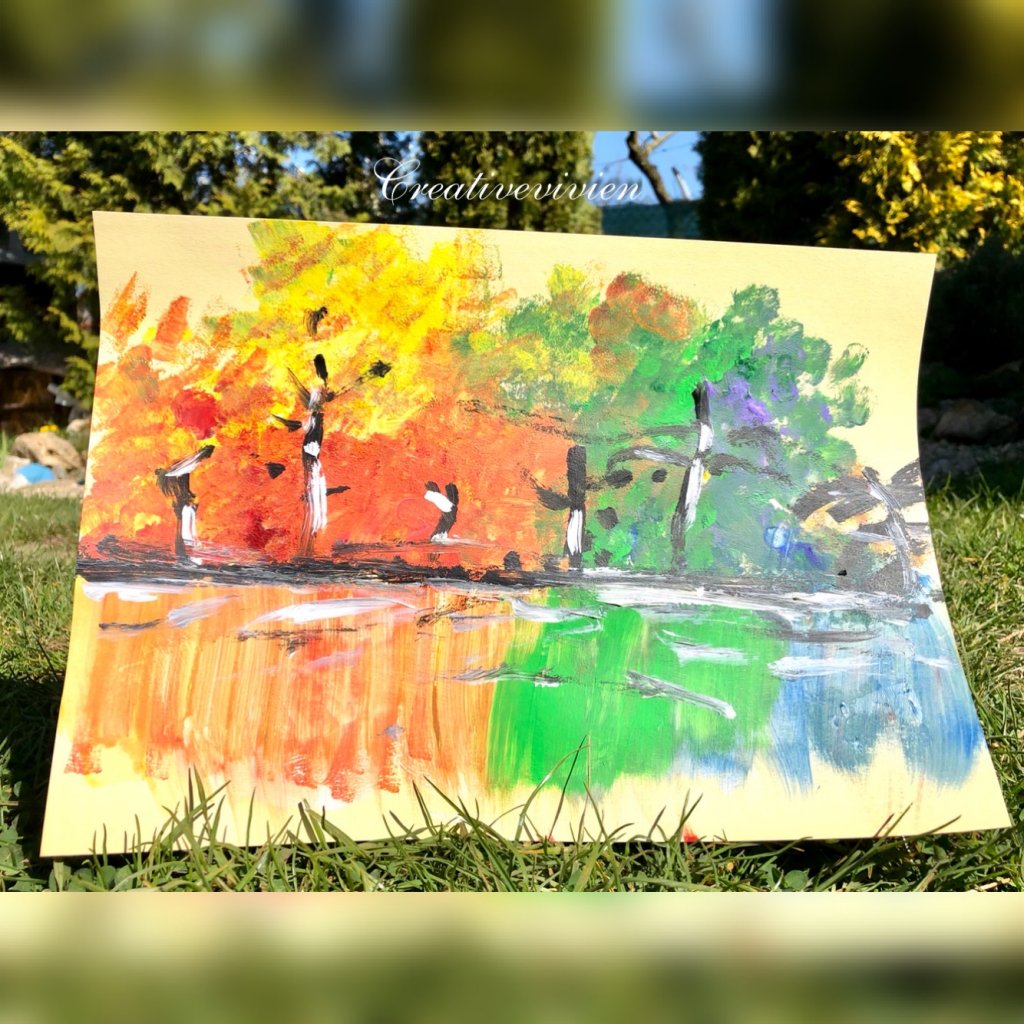
Hotovo! Krásny obraz máme na svete.
***********************************************************************
Painting with children
or how to teach children to paint.
In this article we will introduce you some ideas for creative painting with children. The techniques are easy. We always choose a procedure to attract the child. Each painting has got a more detailed photo tutorial too.
Here you go:
- 1. Solar eclipse
So you will make happy most children with this picture. I made a smiley for Vivien over the whole canvas using the black paint. She asked me like 5 times if she really could paint all black. Of course, you can also use black paper, but we don’t want to spoil the joy of children.
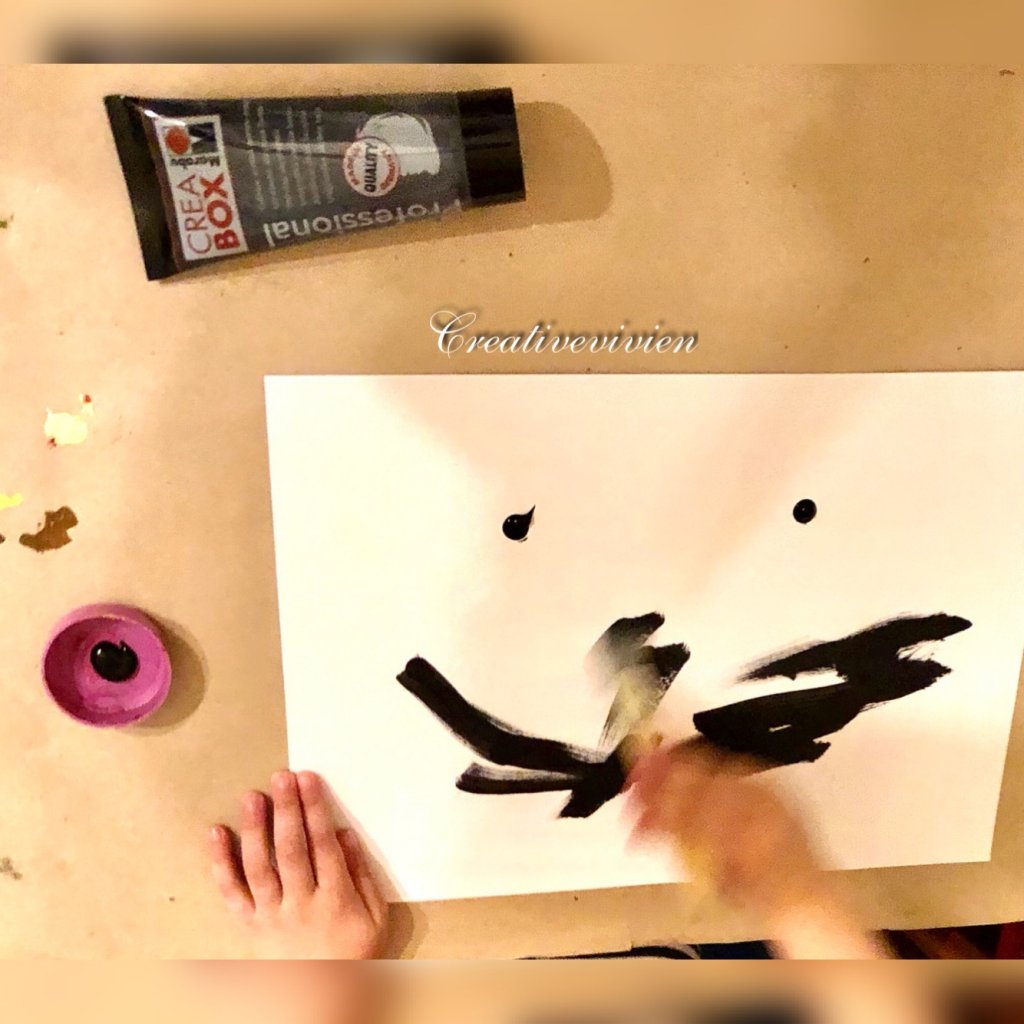
After drying, Vivien glued a circle to the center with a double-sided tape.
Using yellow paint she made dots around the circle.

Then using two paintbrushes and white and gold paint, she sprinkled fine drops over the painting.

Finally, just remove the white circle from the middle.
- 2. Moonlight on the coast
This painting was a bit more challenging, but Vivien liked it all the more. In about 2/3 I made a line with a pencil. She put paper sticky tape over that line. I also glued the cut-out moon. Vivien painted the upper part in blue and violet and made white dots on the sides.

In the bottom part we used white for eyes and blue for nose and mouth. I removed the adhesive tape.
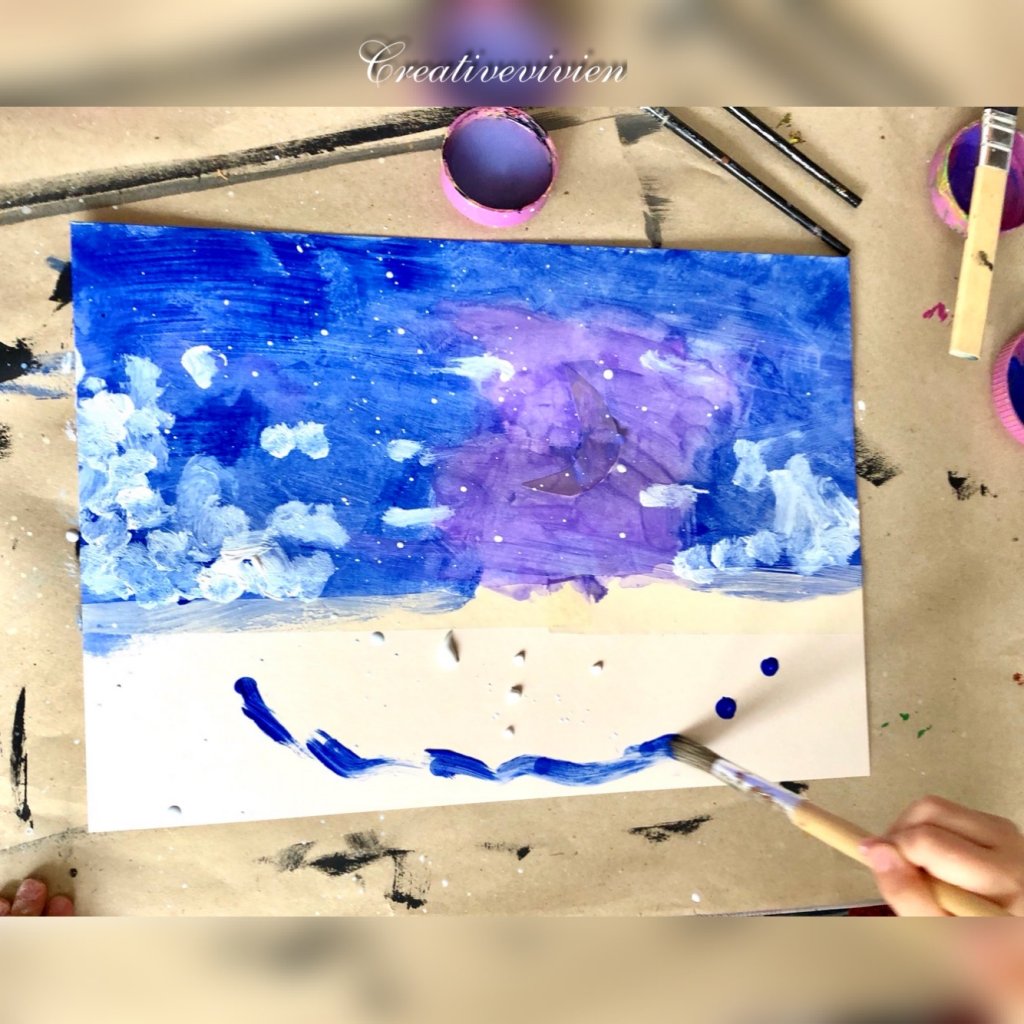
At the end, we sprinkled some paint by knocking brushes against each other. Children love it!
Don’t forget to remove the sticker from the moon.

- 3. Spring flowers
For this painting you will need 3 thin brushes and 4 colors: white, red, green and about every child’s favorite black.

Using a thin brush, Vivien made 5-6 dots in a circle, it will be flowers.
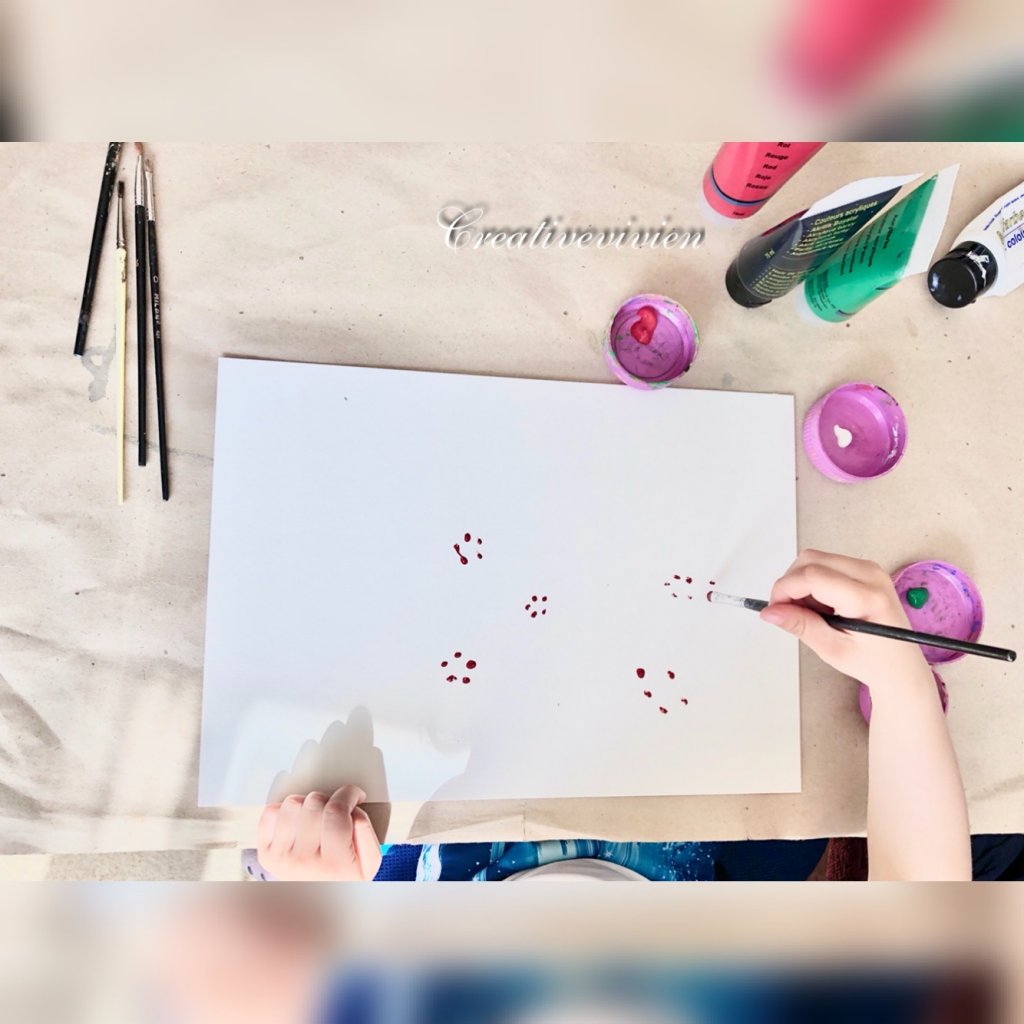
She fingered them inward.

I had to navigate her not to pull it all over the paper. Then she linked these flowers with black.

And at the end she made leaves for the branches.
- 4. Perception of spring
First let the child choose 4 different colors. Then let them paint different shapes on canvas /hard paper.
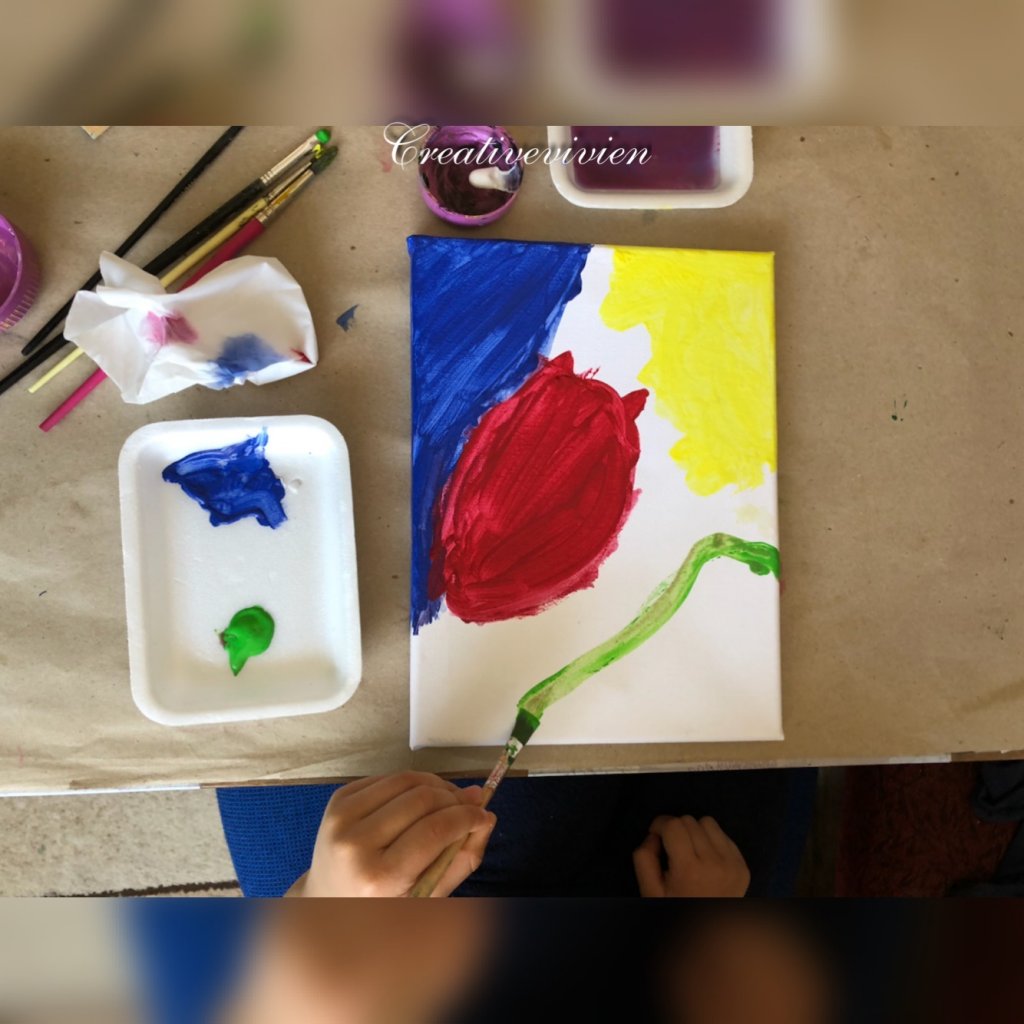
Then we sketched a flower with leaves using a pencil and Vivien drew it with an acrylic marker.

Finally, the remaining white surfaces were painted with pink and gold.

- 5. Colors of nature
Draw a line at about 2/3 of the paper’s width. In the bigger part draw a skeleton of 2 trees. Make colorful dots at the end of each twig of the tree. The number of twigs and colors is optional, we put 5 on each side + 1 on the top. Apply white paint on the lower part, where there are no trees,. Feel free to leave it on the child, this color will be overlapped.
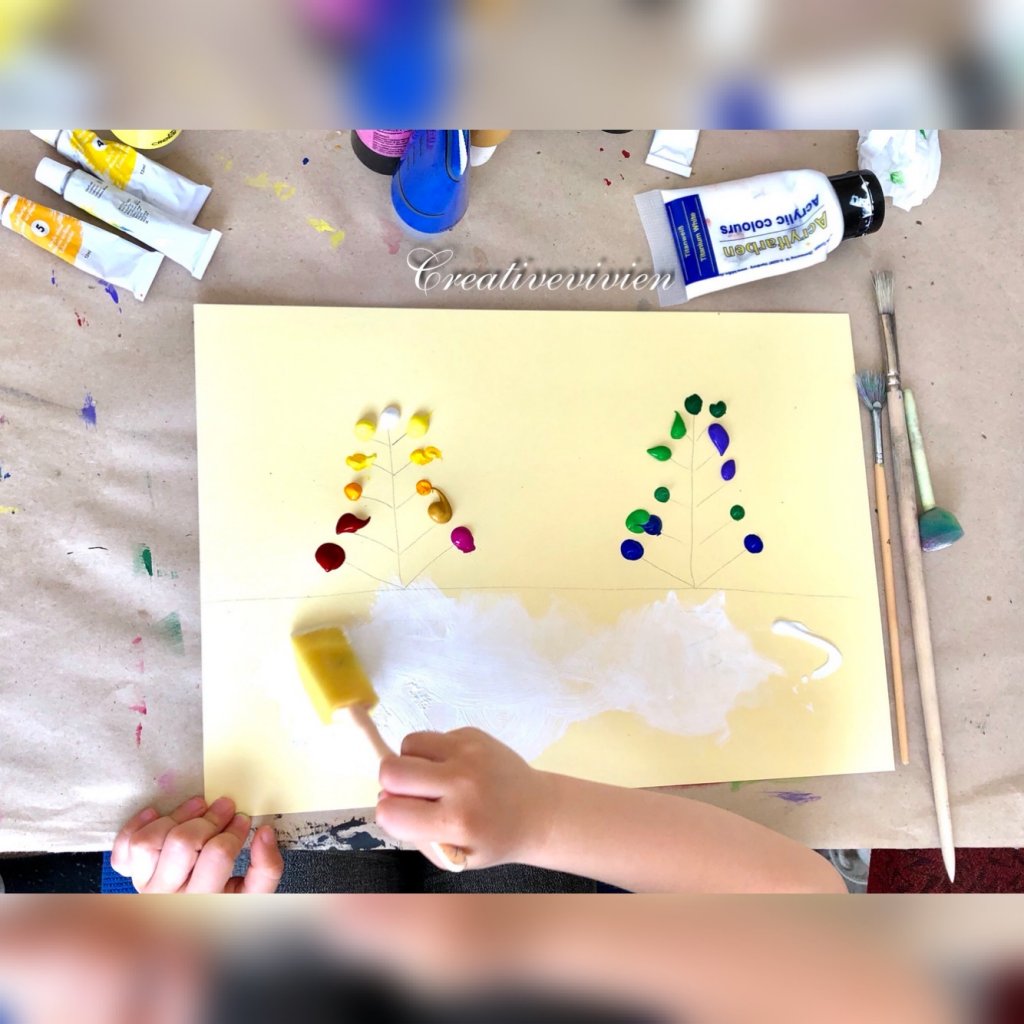
Kids are intrigued by the fact that they can use multiple different brushes.

Make more dots on the top of the trees and paint the white color in the bottom part. From the drawn line we make brush strokes down, so we spread a little of the trees and get the same shade to the bottom. While the bottom part dries, let the child draw trees using black and then white on the top. On the center line, they only put black dots.
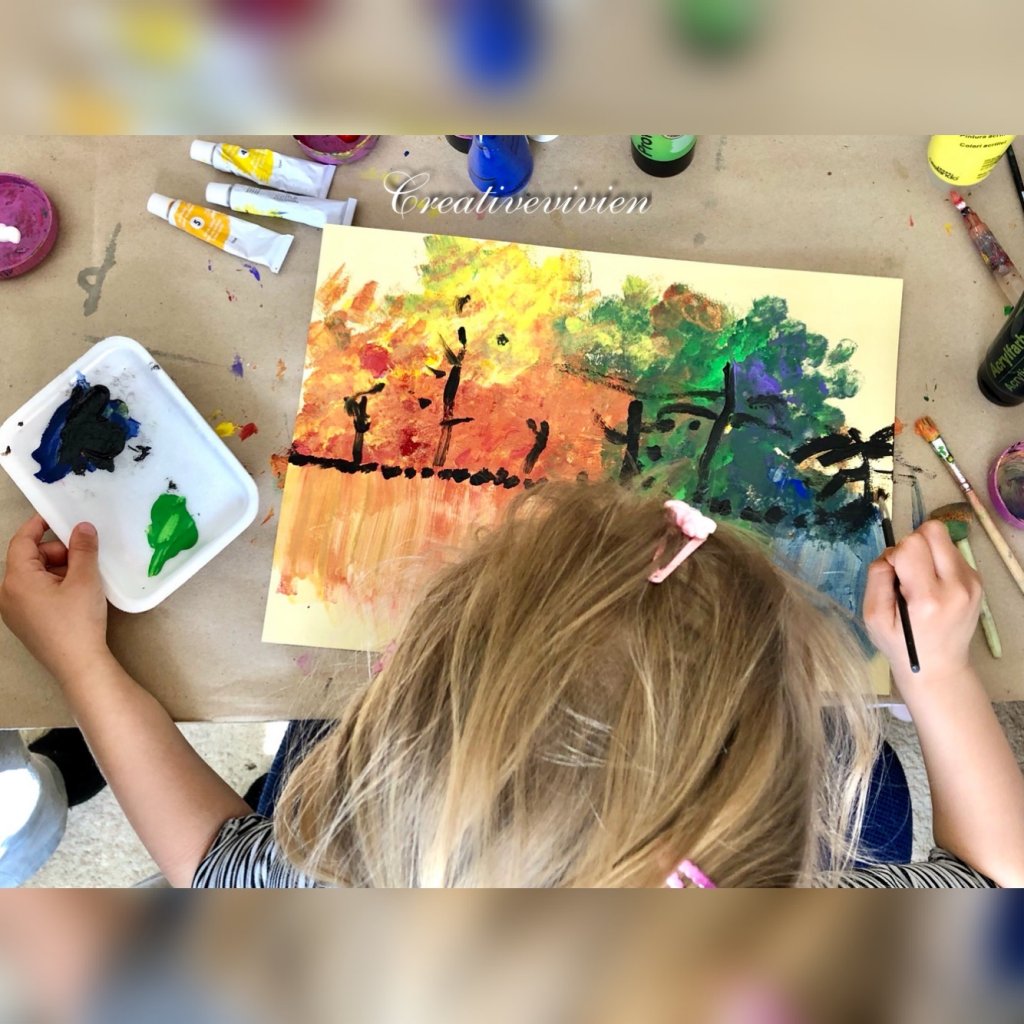
A few finer longitudinal lines are made on the bottom of the image using black and white.
All done! What a beautiful picture!
